I have looked all over DIY-site's to find instructions or idea's for TopDown/BottomUp Roman Shades and have not found very much information on it. So, I had to come up with my own version of it.
My Supply-List:
1/4 inch Dowels for the ribs. Bought mine at HomeDepot (around .93 $ each for Pine) 48/49 inch long
1 Dowel (thicker than the 1/4 inch. This will be for the top part of the shade: Top-Down part)
Eye-screws
Wooden-board 3/4 x 2 1/2 inch
Pole Sockets (I chose the wooden ones)
Corner-braces 1-1 1/2 inch
1 Cord-Lock
1 Tassel
Cord (i bought a 25ft package)
Rib-tape
Fabric (decorative for the inside) I chose tan-colored canvas
white or whiten out Fabric (for the side that's facing out the window)
This is my inspiration for a TopDown/BottomUp Roman shade!!
It is not perfect and it's my first time doing this kind of shade's and I am not a professional seamstress.
Cutting the fabric
My project
After I cut the white fabric, I cut the Canvas-fabric (that's the kind I chose for my decorative side) same measurements
I sew up one side, Length-wise and left a slit open. That is going to be on both sides and I will slide my wooden board through it.
Yes, the canvas is not easy to sew with. It frays very easy. But nothing, I can't handle :)
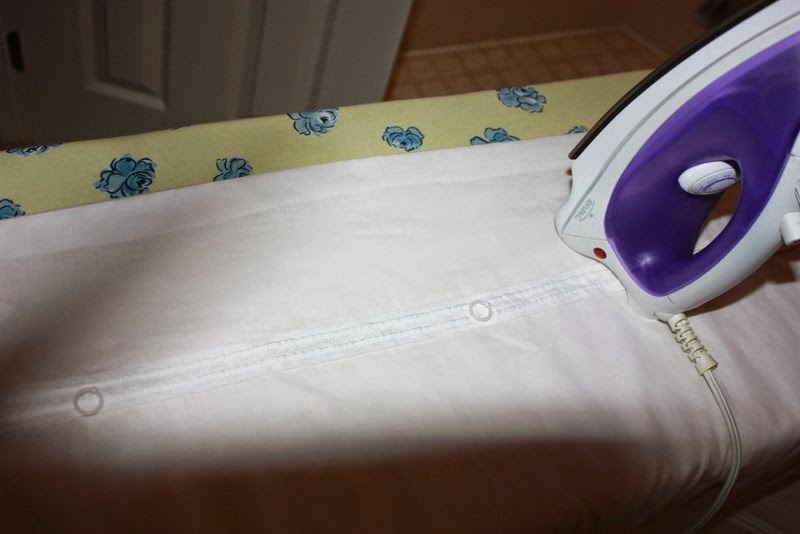
One of many ironing's..
Time to sew on some Ring-Tape.
Iron it .. AGAIN... sigh.. and sew up the other side.. the Length-wise part
Sewing 2 hems.. (measure your wooden-board's height's and give it an 1/2 to an extra inch) so the wooden-board can sit snug in it.
Sewing a loop for the Top-Dowel.
Now I will sew the rib-tape, which I will sew through both of the fabrics, so the seem will be seen on both sides.
!! Note: I was sewing with a white thread and the bobby had the canvas-colored thread in it. Worked fantastic.
The rib-tape frays very easy, so I am using some clear nail-polish. Will stop the fraying :)
Wooden-board sits nice in it.
Eye-screws
Cord-Lock installed
Installing the board on the window-frame
The wooden pole-sockets
Top-down/bottom up.
I made a cute bow on top of the board. After all, it's in daughters bedroom, so we have to make it even cuter
Top down
My husband has not installed 2 more sockets on the lower part. The top-part of the shades is just laying on the wooden part, when on Top-Down position. We might install 2 more sockets later. So far, we are liking the look like that.


thank you for posting this - very helpful!
ReplyDeleteI have had a similiar experience--unable to find a top down, bottom up, roman shade diy video. Thank you for putting together these procedures. Will you be putting together a video showing each step as it is being completed?
ReplyDelete